
In Odyssey, workflows enable you to see the working path a job will take from beginning to end in your print shop. These workflows consist of a collection of processes and resources that a job will need in order to make printing happen.
Your Workflows will most likely contain a collection of multiple Processes using many of the available options you create in your Resources.
You are ready to create a Workflow if you have added in the Resources and Processes needed in order for a job to move through production.
To create a Workflow:
- Select Printshop > My Products
- Select "All", "Public", "Private", or "Guided" under the Order Form drop-down on the left-sidebar
- Select the 'Workflows' button to the right of a Product (also known as an Order Form)
- A user may select from an existing Workflow, create a new one or copy an existing Workflow
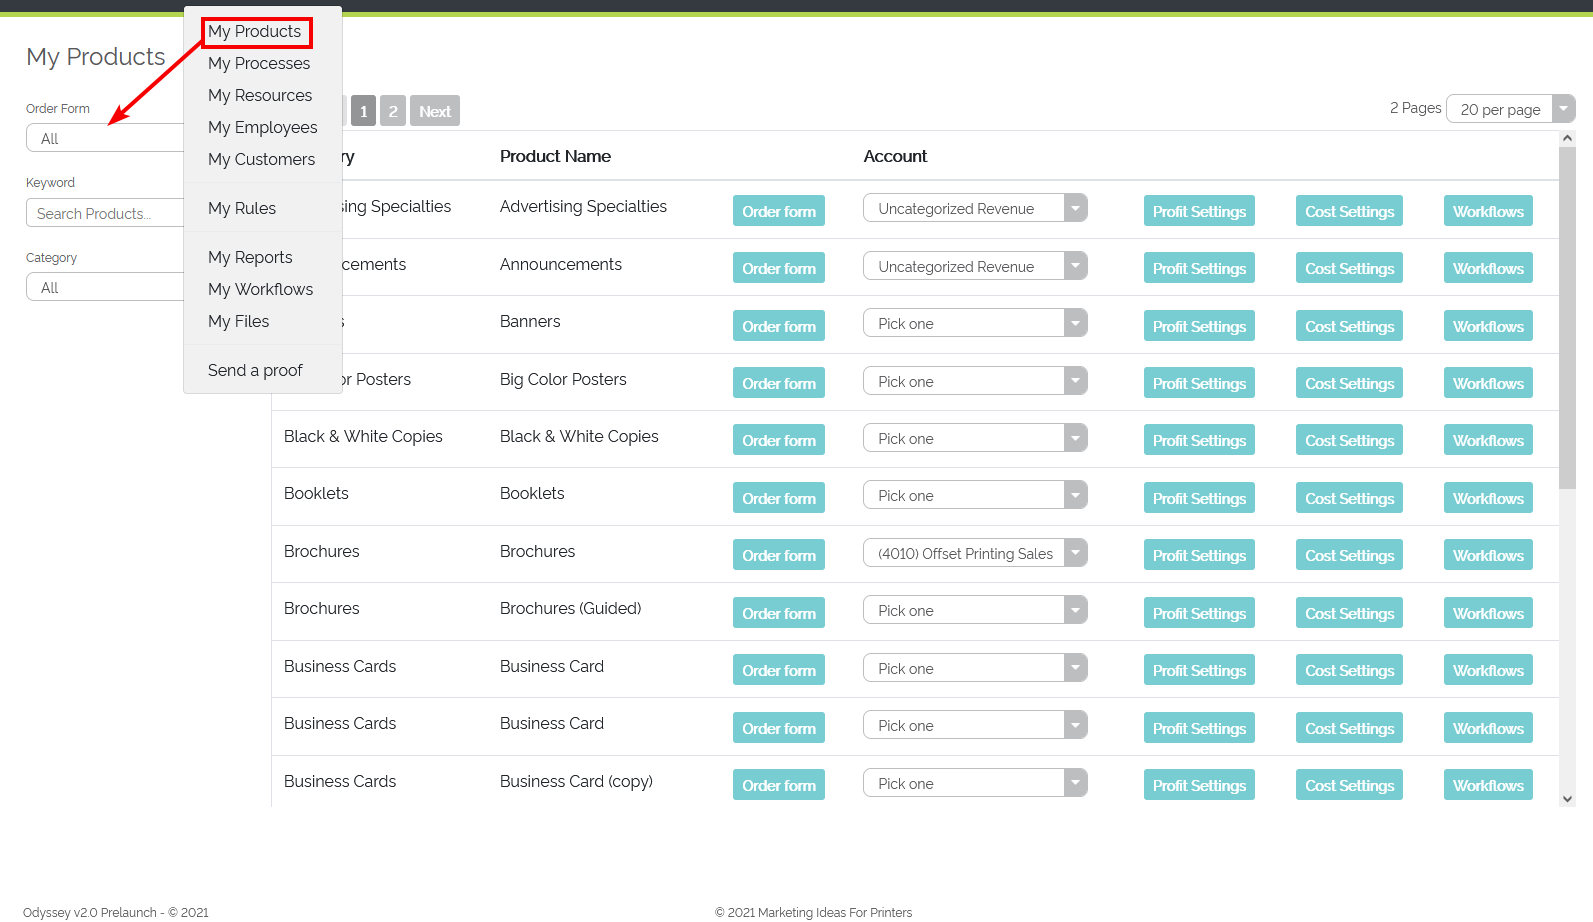
Example of a list of All order forms in which a user can choose the 'Workflow' button
Review the short video below on where to select a product to view a workflow for the product.
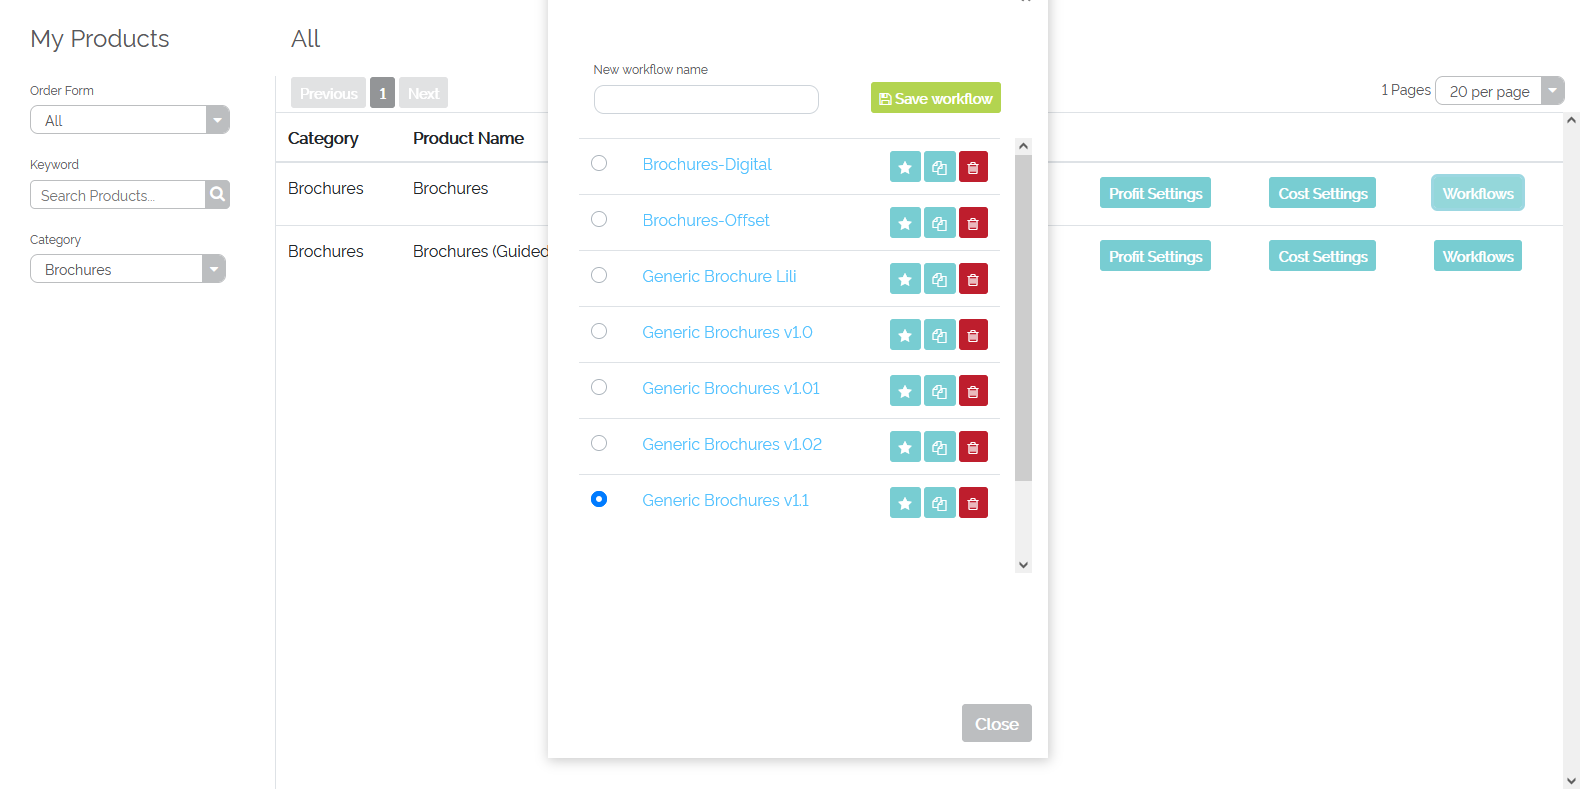
Example of a list of Workflows for a Brochure order form
-
Select from an existing Workflow or create a new Workflow
- Users will now be able add or edit a Workflow for the order form chosen
Adding Processes to a Workflow
In order to set up a Workflow, processes will need to be added so that a job can navigate through the printshop. Processes may include printing, cutting, trimming, folding, boxing and so on.
To added processes to a Workflow:
- Select a process from the drop-down next to 'Process'
- Select 'Add'
- Continue adding the necessary processes the job requires to have performed from start to finish
Using the image below, the Brochures - Digital Workflow typically includes four processes:
- Cut Parent to Run Size
- Digital Printing
- Trim Press Sheet to Finished Size
- Half Fold
These are the basic processes typically used for a Brochures job to move through a printshop from beginning to end. Additional processes may always be added; existing processes can be deleted.
Note: Processes will appear in random places in your Workflow screen until you link the processes, which is found in the Linking Processes tutorial.

Example of a simple Brochure Workflow with four linked processes