
To create an Advanced Workflow, first navigate to the Printshop Drop-Down in the Navigation Bar. From that Drop-Down, select "My Products".
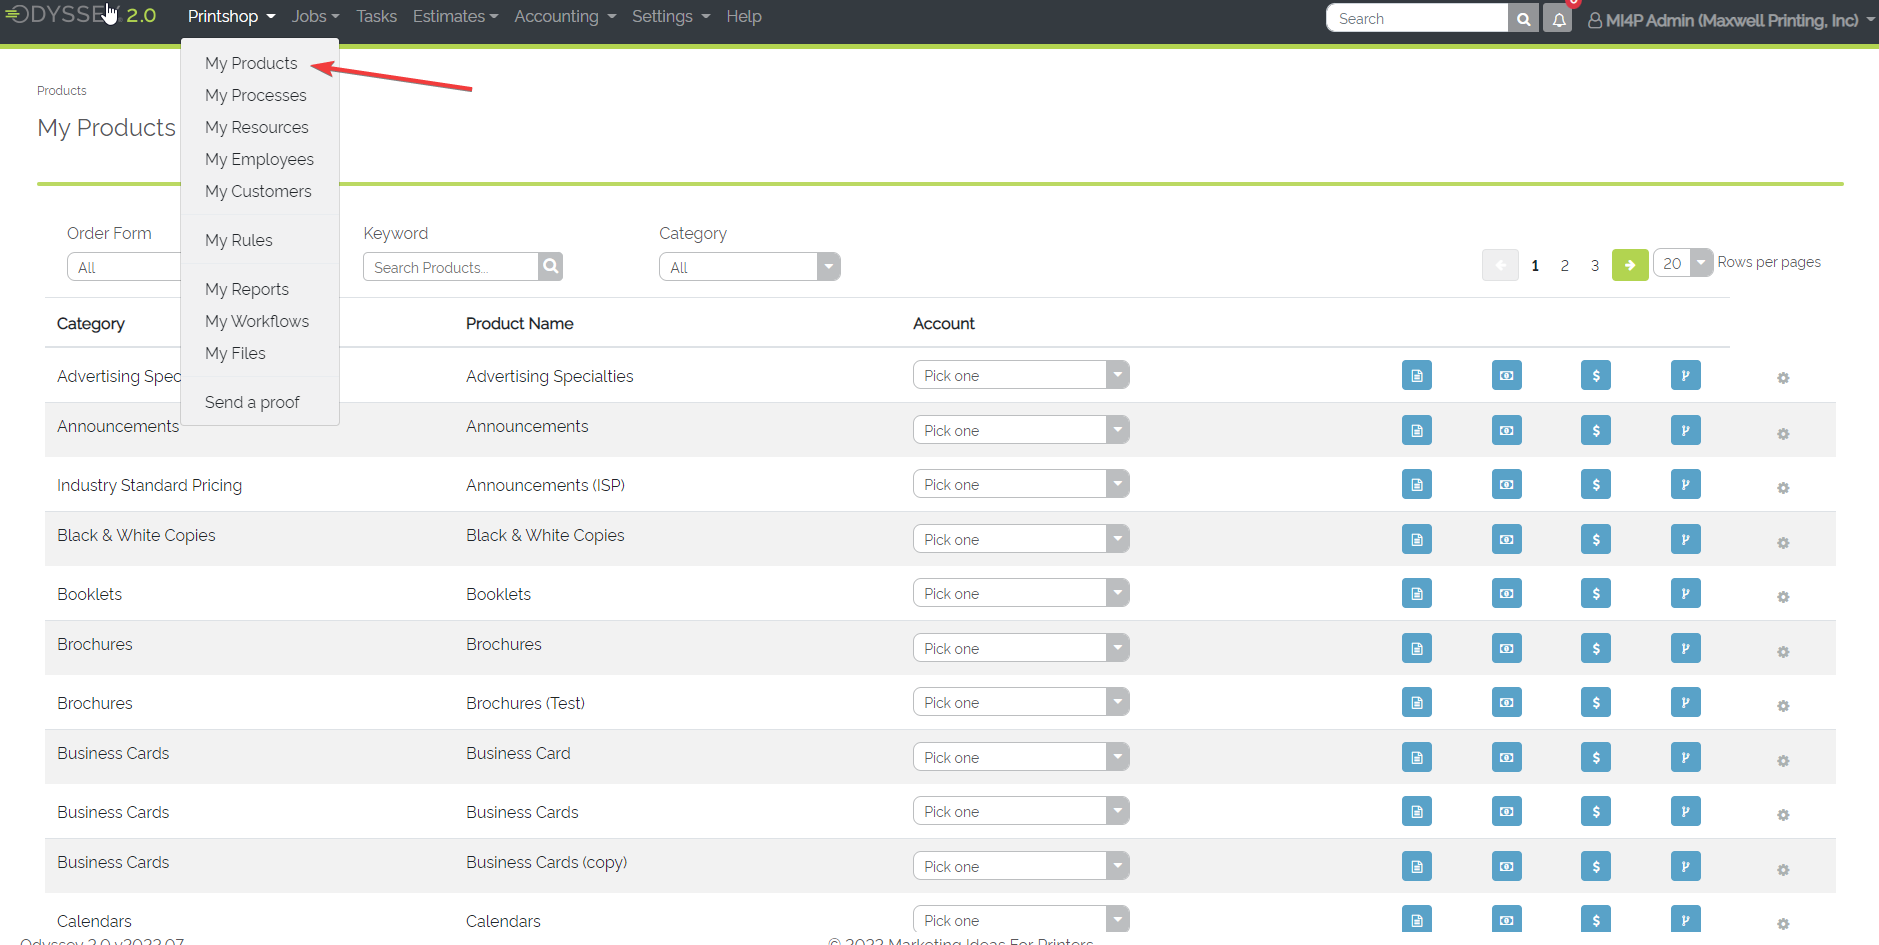
Example of the My Products List
Once there, a user can navigate to the product they wish to create a workflow for. Click on the "Workflow" icon on the right hand side of the screen, and within the drop-down, select "Create Advanced Workflow".
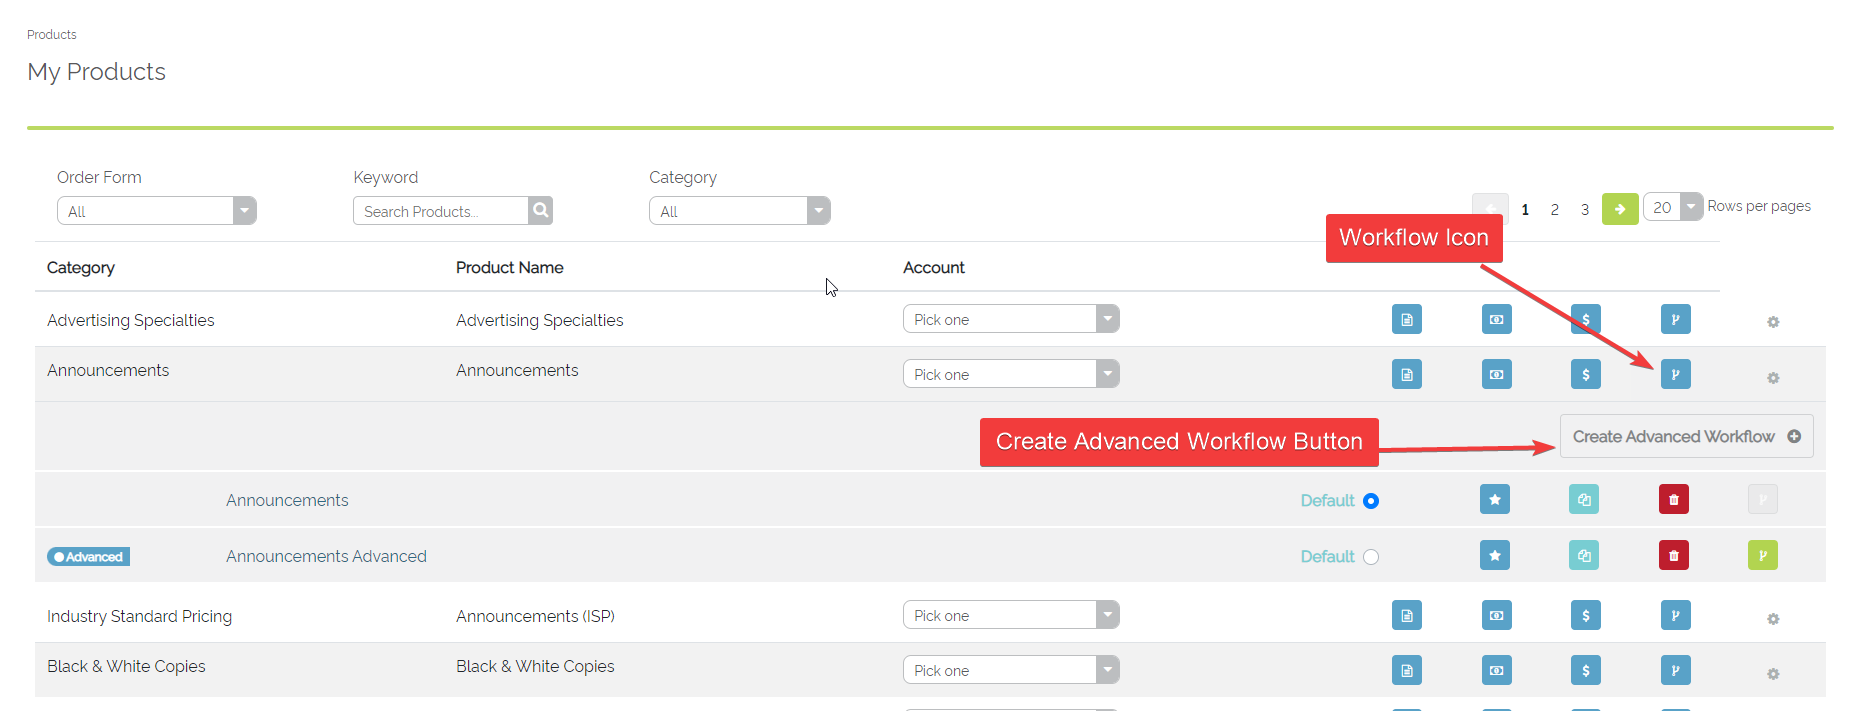
Example of the Workflow Icon and Create Advanced Workflow Button
After clicking on the "Create Advanced Workflow" button, a pop-up will display allowing a user to enter in the name of the workflow as well as how they would like to create the workflow, from a "Blank Workflow" or using the "Workflow Wizard". Selecting "Blank Workflow" will allow a user to create one large "Advanced Workflow" containing multiple paths. Selecting "Workflow Wizard" will allow a user to begin creating "Simple Workflows" that will be contained within your Advanced Workflow.
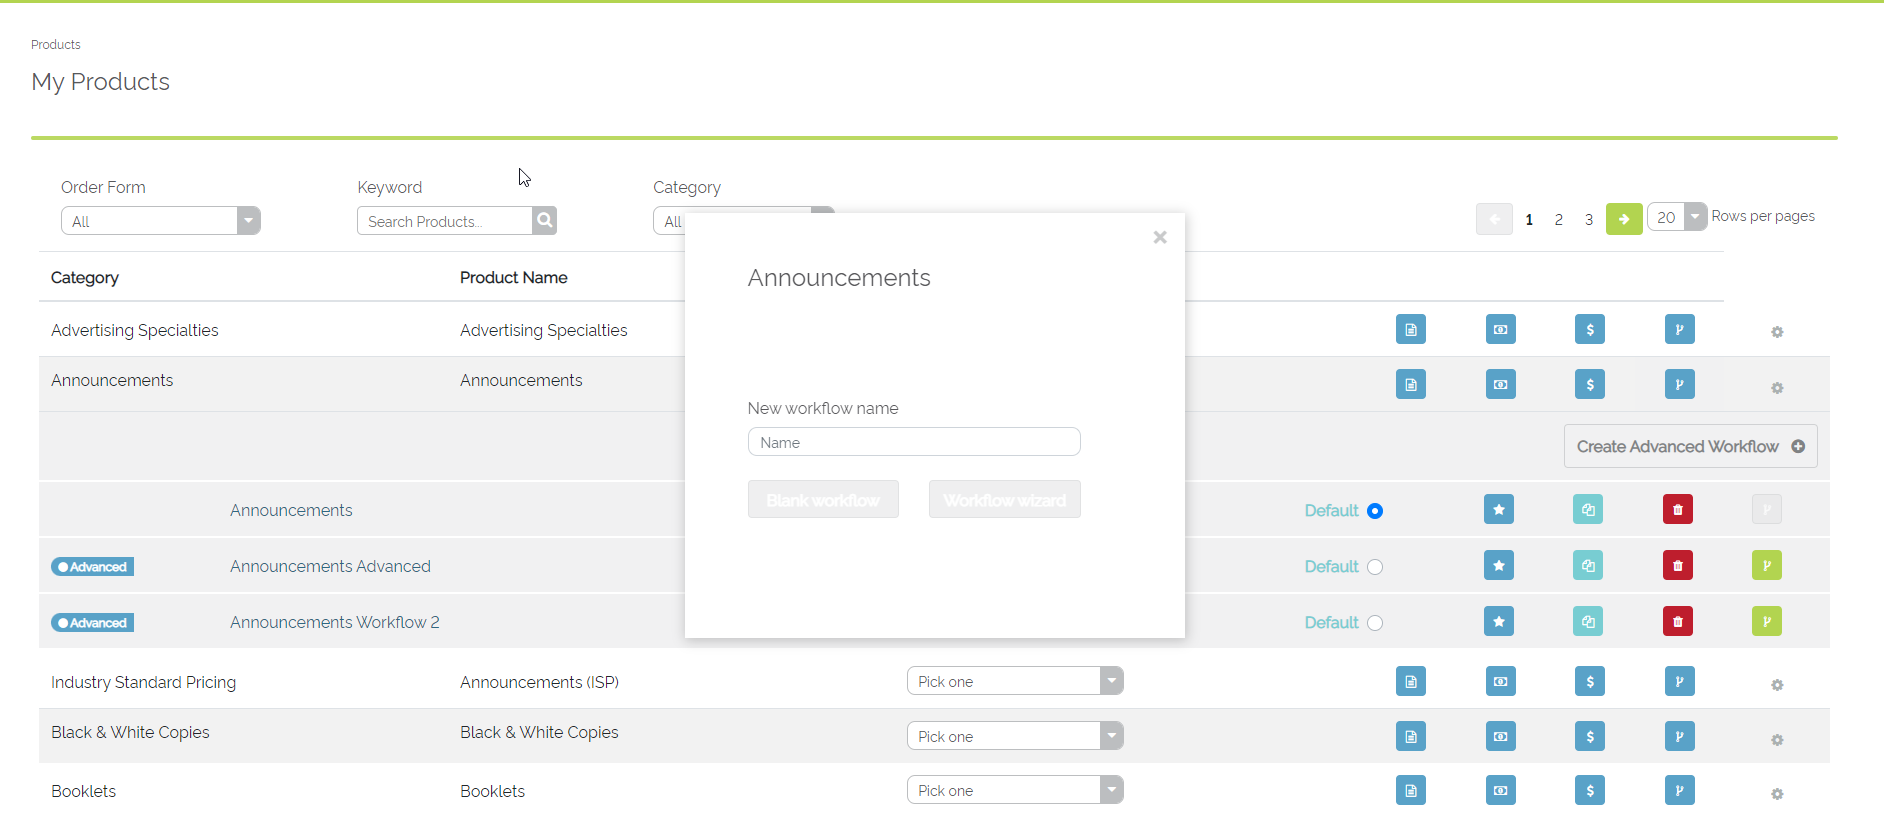
Example of the Create Advanced Workflow Pop-Up
If "Blank Workflow" is selected, follow along with the Creating an Advanced Workflow: Add Processes article. If the "Workflow Wizard" is selected, follow along with the Creating a Simple Workflow: Conditions article.