
Once Processes have been setup for a Simple Workflow, a user will be taken to the Resources screen. On this screen, there is still the ability to add new Processes, edit Processes already added, and link Processes together. Follow along with the "Creating a Simple Workflow: Processes" article to get a more in-depth look at the Processes screen. After all of the Processes have been added, it is time to add Resources to those Processes. To do this, first select the arrow of the process you wish to add resources to. This will 'open' up the Process and allow Resources to be added to it.
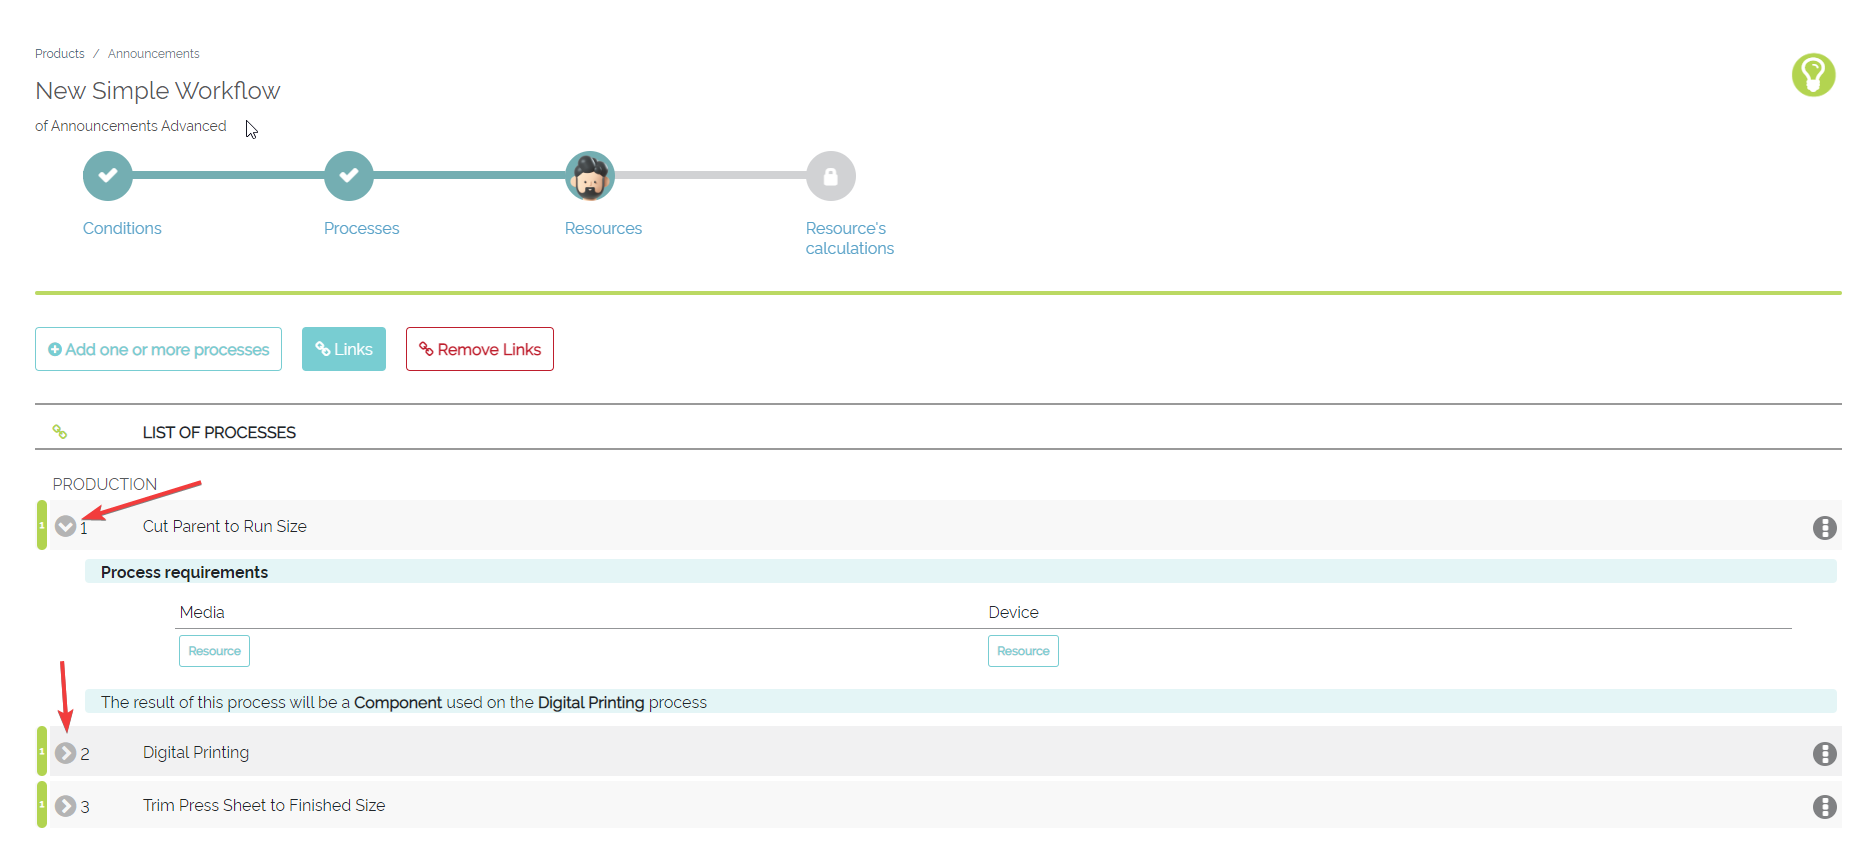
Example of the Resource Page with a Process Open
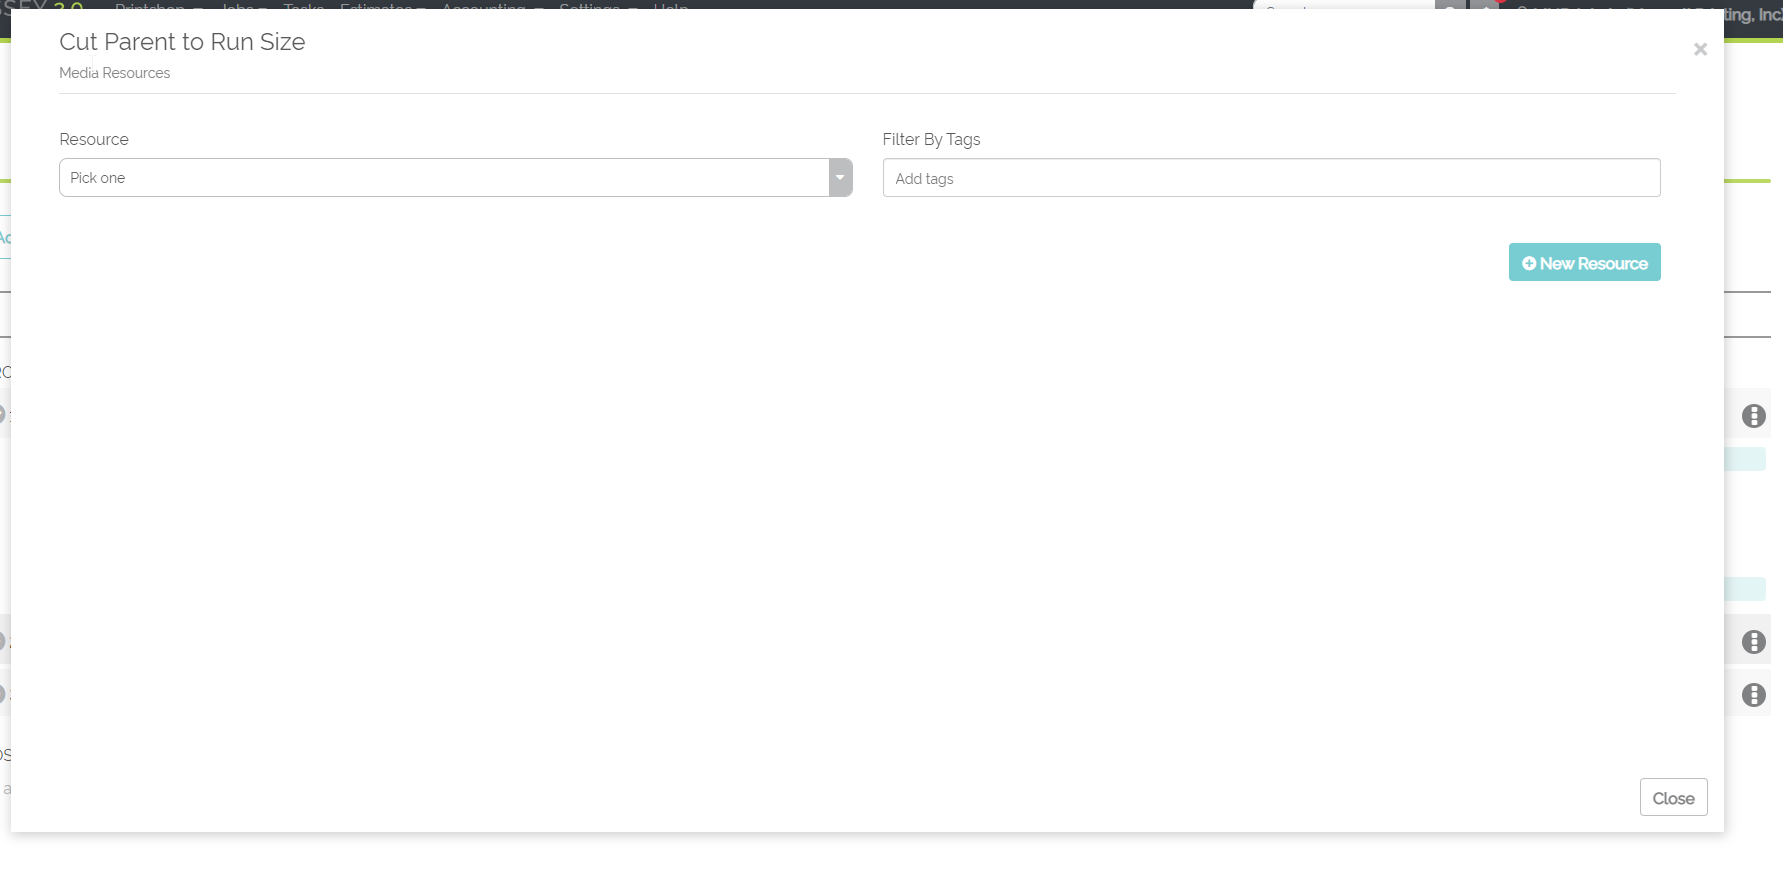
Now that the Process is open, select the "Resource" button under the Resource type to be added. This will open up the Resource Pop-Up that will allow the ability to select or add a new Resource to this Process.
Example of the Resource Page with a Process Open
Once all of the Resources have been added to a Process, select the "Close" button to close out of the Resource Pop-Up. Repeat this for all of the Processes added to the Simple Workflow. Once all of your Processes and Resources are set, click the "Next Step" button to move onto the "Resource Calculations" page. Click here to learn more about the Simple Workflow: Resource Calculations page.