The Cost of a resource is added or edited by clicking on the $ icon to the right of a resource name:
![]()
When adding/editing the cost, think of the cost as the 'base' or 'roughly right' cost for that resource. For instance, a digital printer may run $.059/click as the 'base' or majority of the time cost. That $ value (per click cost) is what is filled in under 'Cost'. You may also define the 'Quantity', 'Min to Use' and 'Hourly Rate' after selecting the 'Cost' icon.
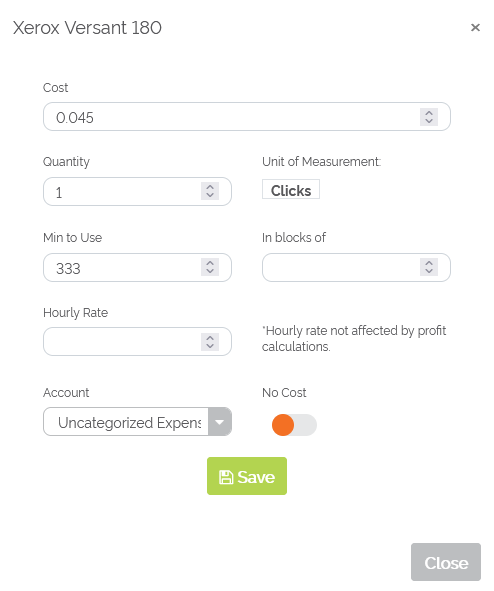
Example of Cost for a digital printer
Media resources do not have Hourly Rate- they simply have Cost, Quantity, Min to Use: and In blocks of: available to fill in.
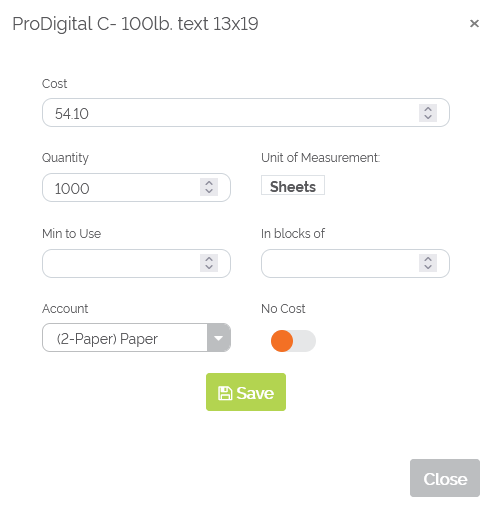
Example of Cost for a Media resource
Component resources may also have a 'Cost' filled out. Examples may include boxes or print-ready files.
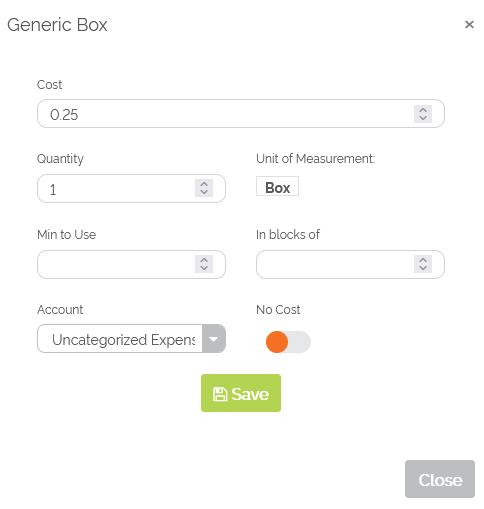
Example of Cost for Component resource
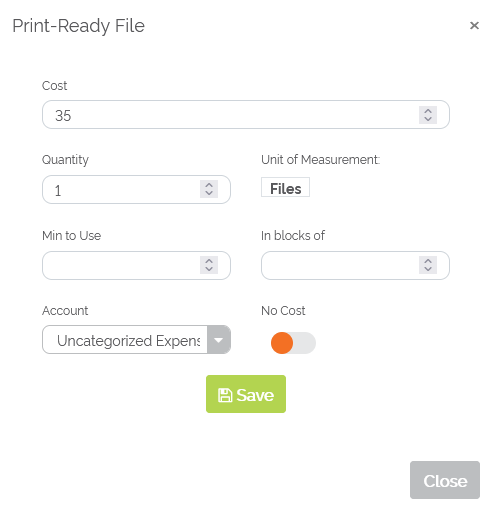 2nd example of Cost for Component resource
No Cost
If a resource should be considered no cost, meaning it would not have a cost associated with it and does not need to be a part of workflow calculations, there is a 'No Cost' toggle in Odyssey.
- Select the $ icon to the right of a resource name:

- Toggle the 'No Cost' to 'Yes'
- The fields above 'No Cost' will then become grayed out
- Select 'Save'
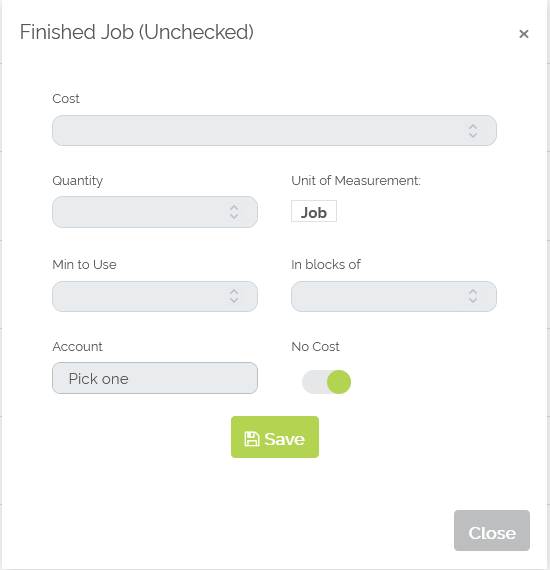 Example of a 'No Cost' resource
If after adding a resource a printer needs to go back to add/edit the cost of said resource, selecting the ![]() (Cost Settings) icon will take a user directly to that resource's 'Resource Cost' screen.
(Cost Settings) icon will take a user directly to that resource's 'Resource Cost' screen.
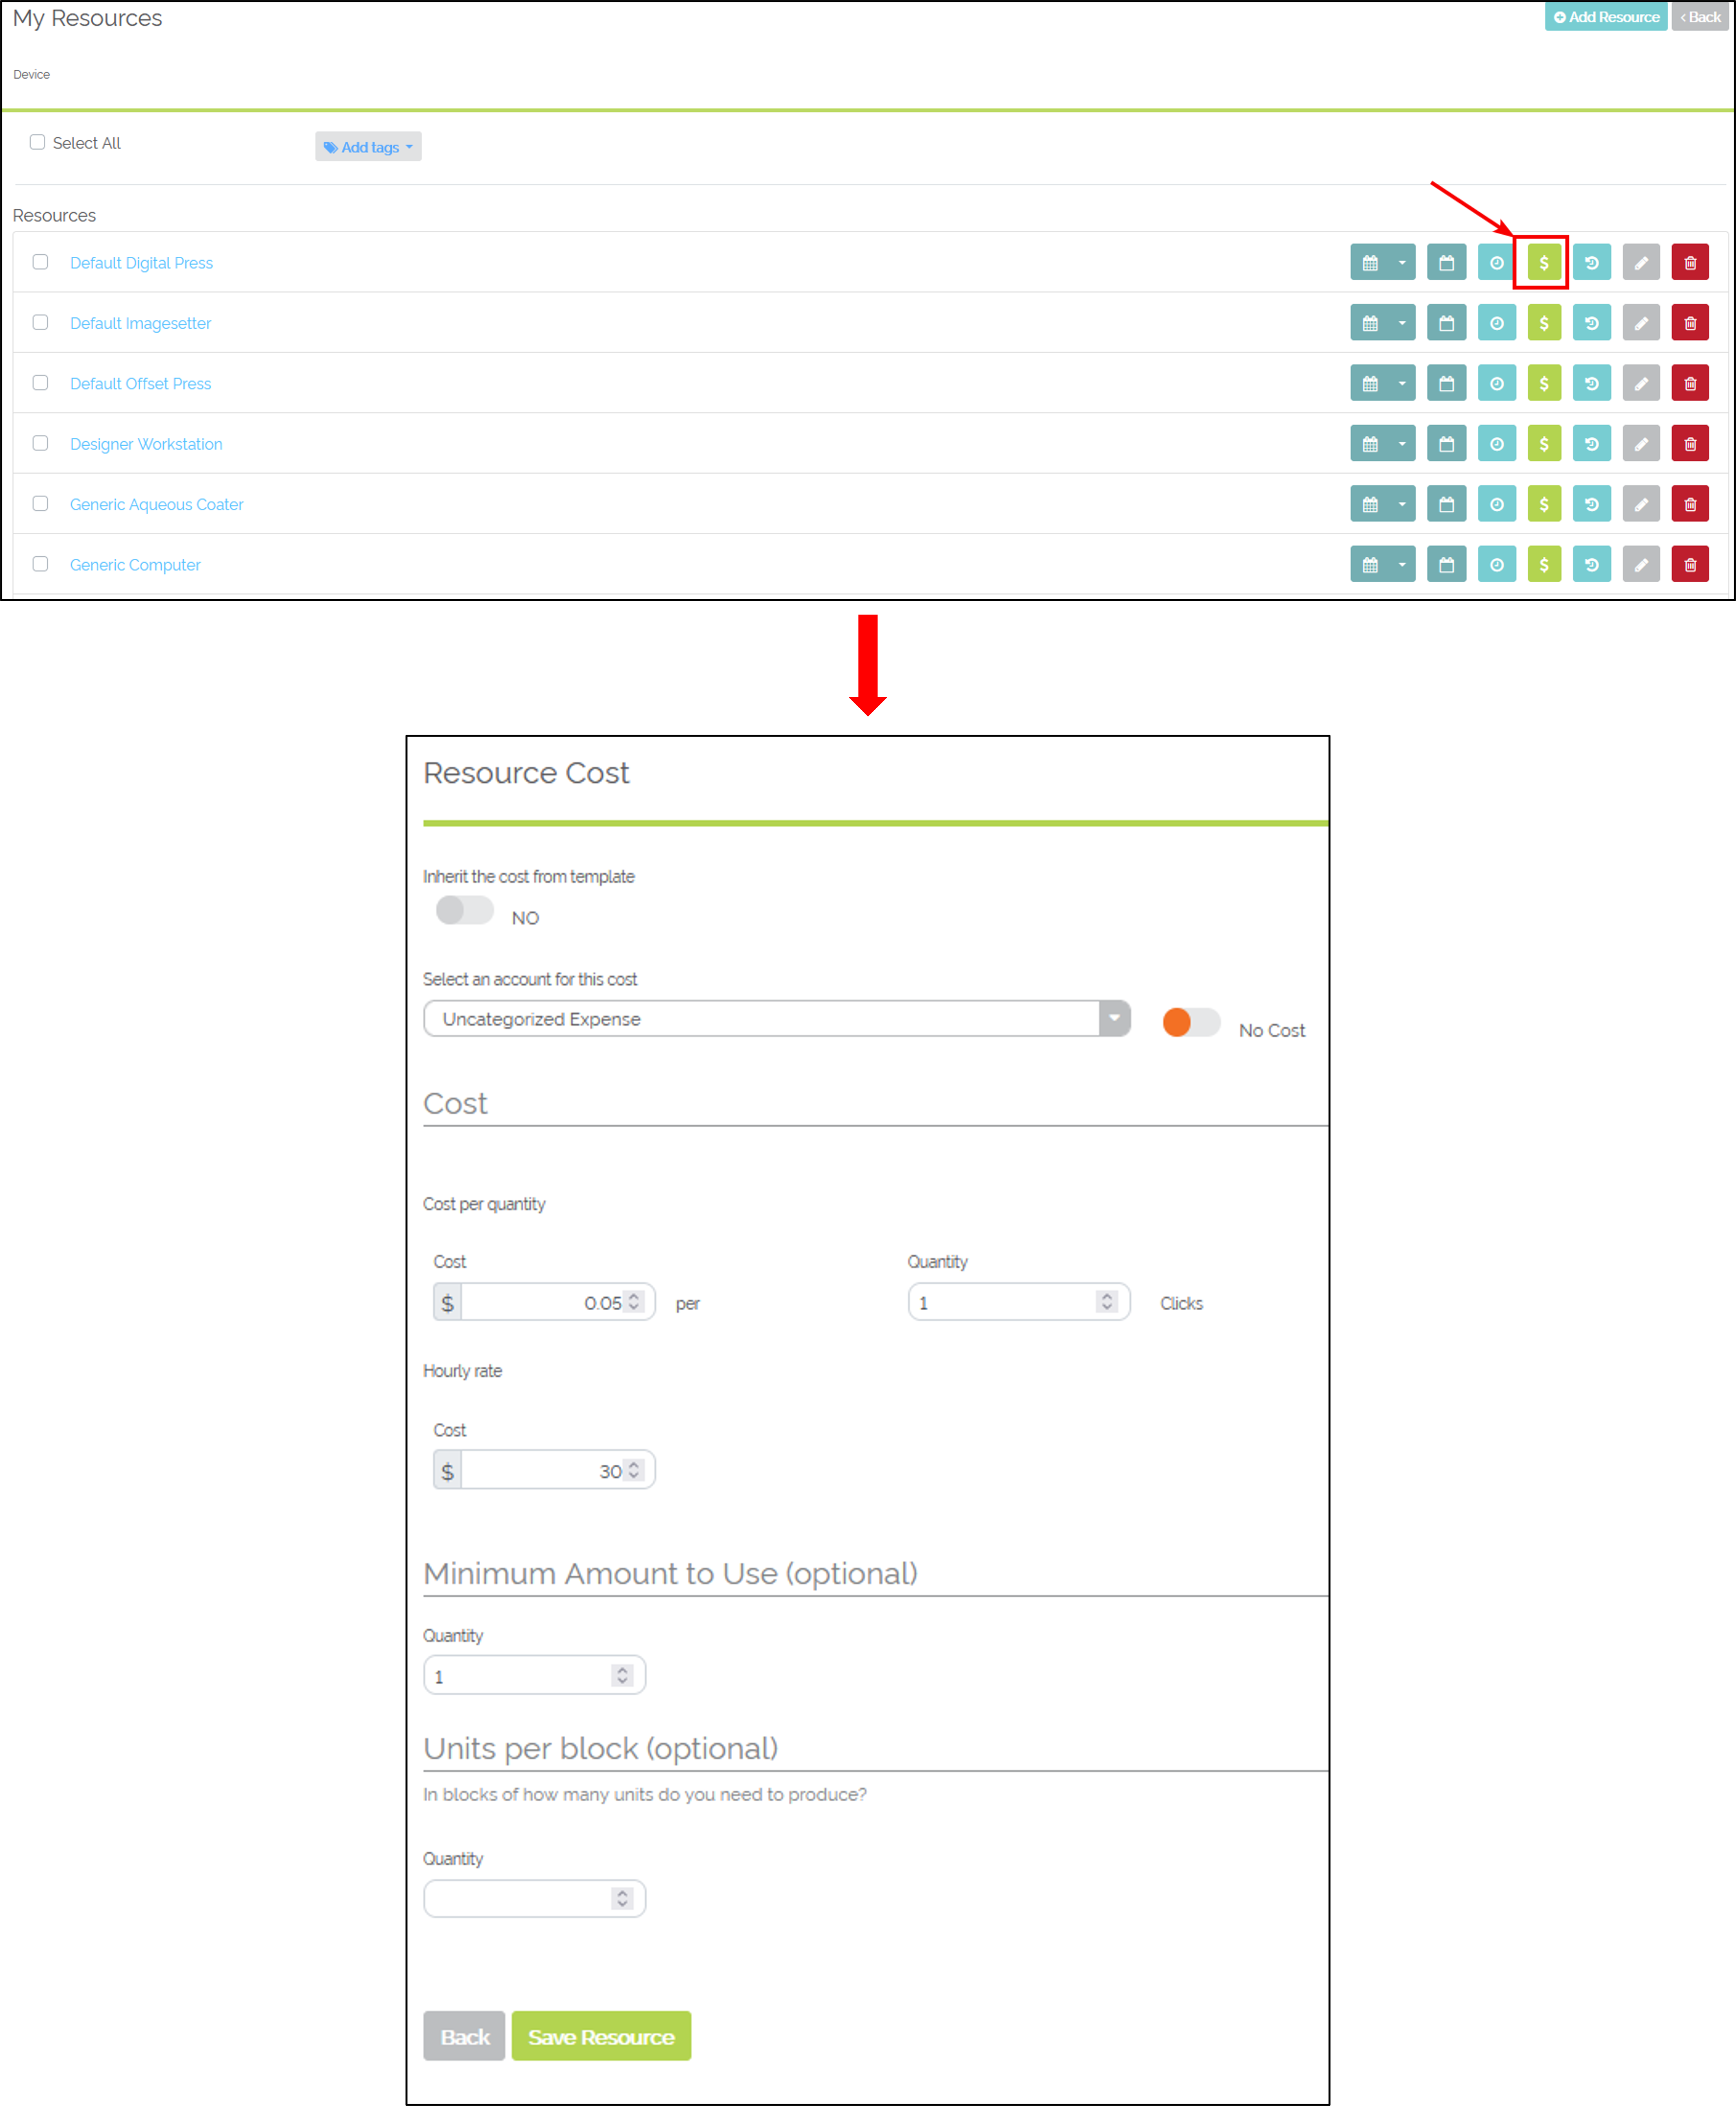 Example of editing a resource's cost after the resource was already added